
How to Store Your Ski and Snowboard Gear for Summer

Valley temps are soaring, and many lifts are about to cease spinning for the season. It’s time to start prepping your ski and snowboard gear for summer storage. “Summer storage? Are you mad?” you’re probably exclaiming. While some may not be ready to hang up their skis for the season, others are understandably ready for flip-flop season.
Fortunately, you can channel that pent-up skiing and snowboarding energy towards dialing in your gear so that it’s ready to go when the snow starts falling next winter. “Naked bases sitting in a hot garage all summer is a recipe for yucky, white dryness that will make your French fries feel like pizza,” Peter Arlein, wax guru and founder of environmentally-friendly wax company mountainFLOW Eco-Wax, told me. “With just a little effort, you’ll be prepped the moment winter comes back.”
If your gear is totally thrashed, late spring is the perfect time to take them into a shop for a complete tune to have those core shots filled and get a nice stone grind texture in the base so you’re shred-ready in the fall. If your gear is in mostly usable condition, a little work at home is all you’ll need. Here’s how to prepare your gear for summer hibernation.
Step 1: Keep It Clean
All sorts of junk gets in ski and snowboard gear throughout the season, especially if you've been shredding in late spring conditions. Clean it off so it doesn’t sit there continuing to damage your shred sticks all summer. Start by spraying everything down with water and drying it with a clean towel. If there’s a bunch of dirt and grime ground into your bases, consider using a commercial base cleaner or a very mild citrus solvent to get the gunk off. Rinse and let everything thoroughly dry.
Step 2: Edge Check
Tune up those edges. Not only will you thank yourself later for the strong edge bite when shredding early-season, manmade ice, but removing burrs from your edges will keep them from getting rusty. A gummy stone should do the trick of removing nuisance burrs, while a more comprehensive edge tuner will help dial in performance.
Step 3: Wax Time
Time for that sweet, sweet protective wax layer. Any decent hot wax will work, but some recommend softer, warm temperature waxes for better sealing. Put a bunch on there, cover the entire base and the edges—it’ll help prevent rust—but DON’T scrape it off. Not until next winter at least. The wax will keep your bases from drying out with the aforementioned yucky white junk, which some people refer to as oxidation. For the pedantic among us, apparently, oxidation is a misnomer since the ultra high molecular weight polyethylene (UHMWPE) that makes up ski and snowboard bases is inert and non-porous, but the white yucky dryness is very real and not good for going fast on snow.
If you want to get serious about it, there are specially formulated base conditioners made specifically for storage and travel that will both seal your bases and pull out junk like dust and pollen when you heat it and scrape it later. However, if you already have some wax and an iron at home, those will do just fine.
Step 4: Relax the Bindings
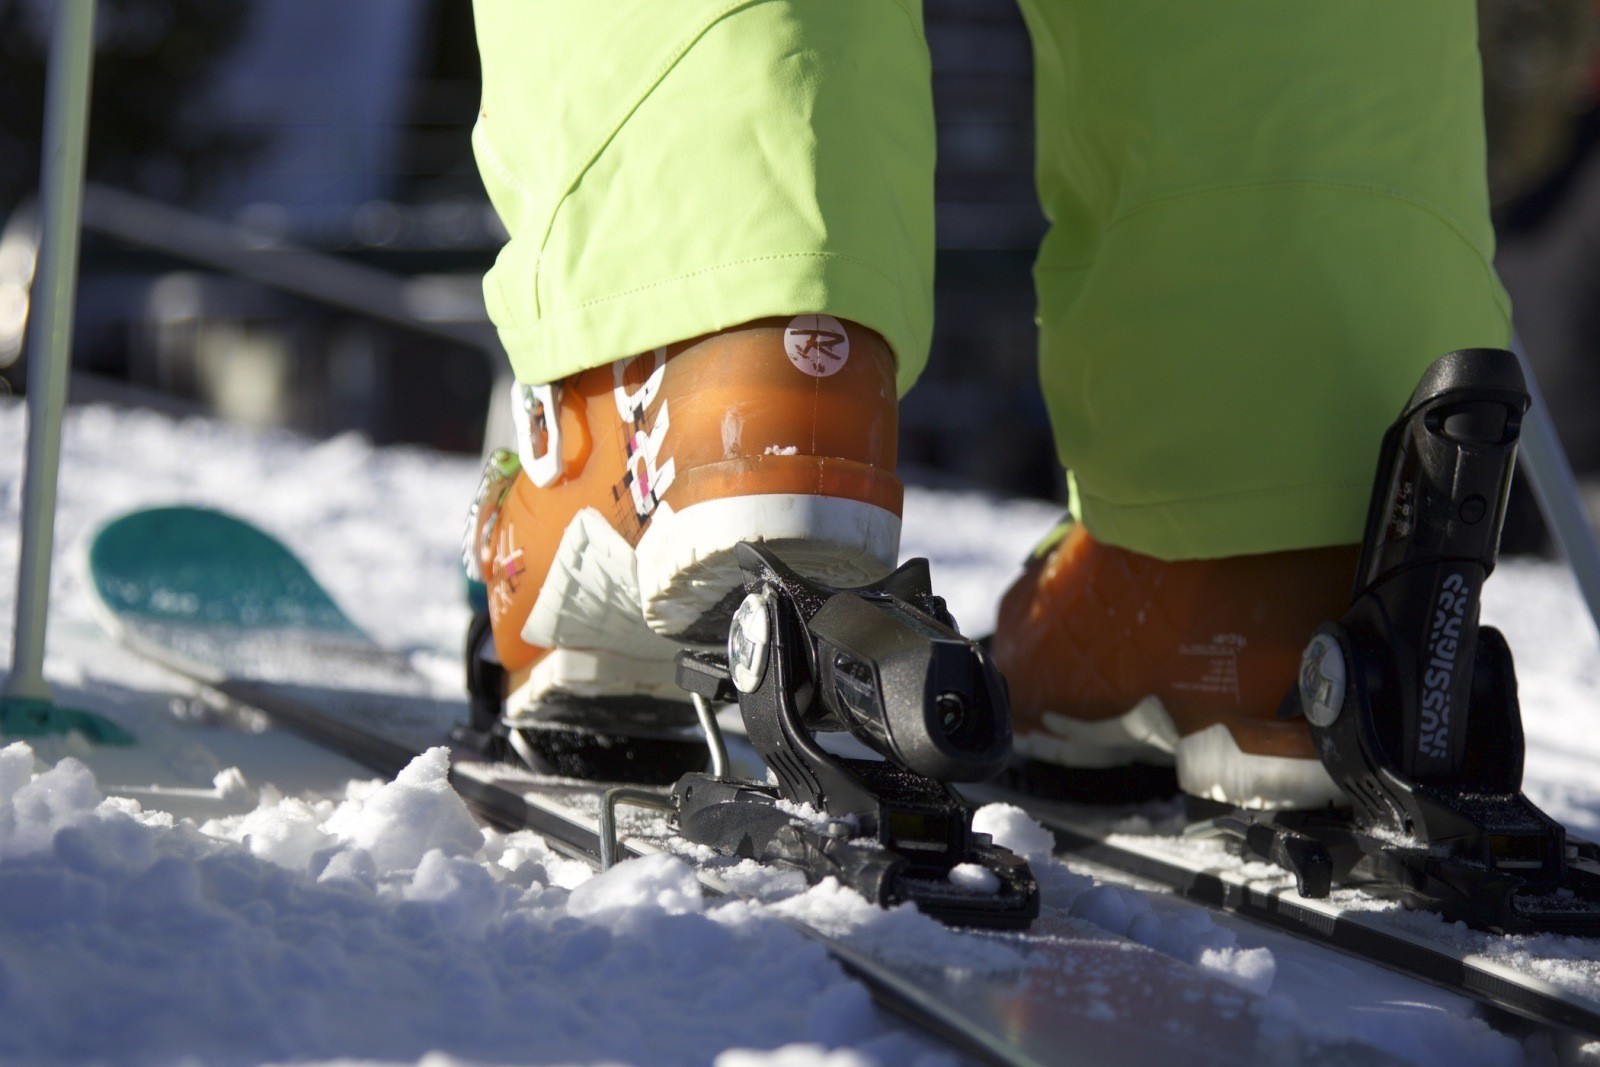
This is only necessary for the meticulous out there, and it’s more for skiers than snowboarders. Relieve the tension on your binding springs so they aren’t compressed all summer. This means backing off your dins off to a low setting, setting your heel levers closed—ski position—and putting your tech binding toes into ski mode with the lever lifted. Just remember to put your dins back to your preferred level in the fall and ensure everything is ready to go.
Step 5: Storage
Don’t waste your work with shoddy storage. A cool, dry place that isn’t in the sun and doesn’t have a bunch of dust and grime is preferable. Garages aren’t ideal, since your vehicles and mountain bikes tend to track a lot of junk inside, but that’s better than leaving them outside under the deck. Underneath your bed is a great spot. Plus, that allows for some pillow talk bonding time between you and your skis or snowboard in the offseason that will pay dividends when winter comes around.
Step 6: Boot Love
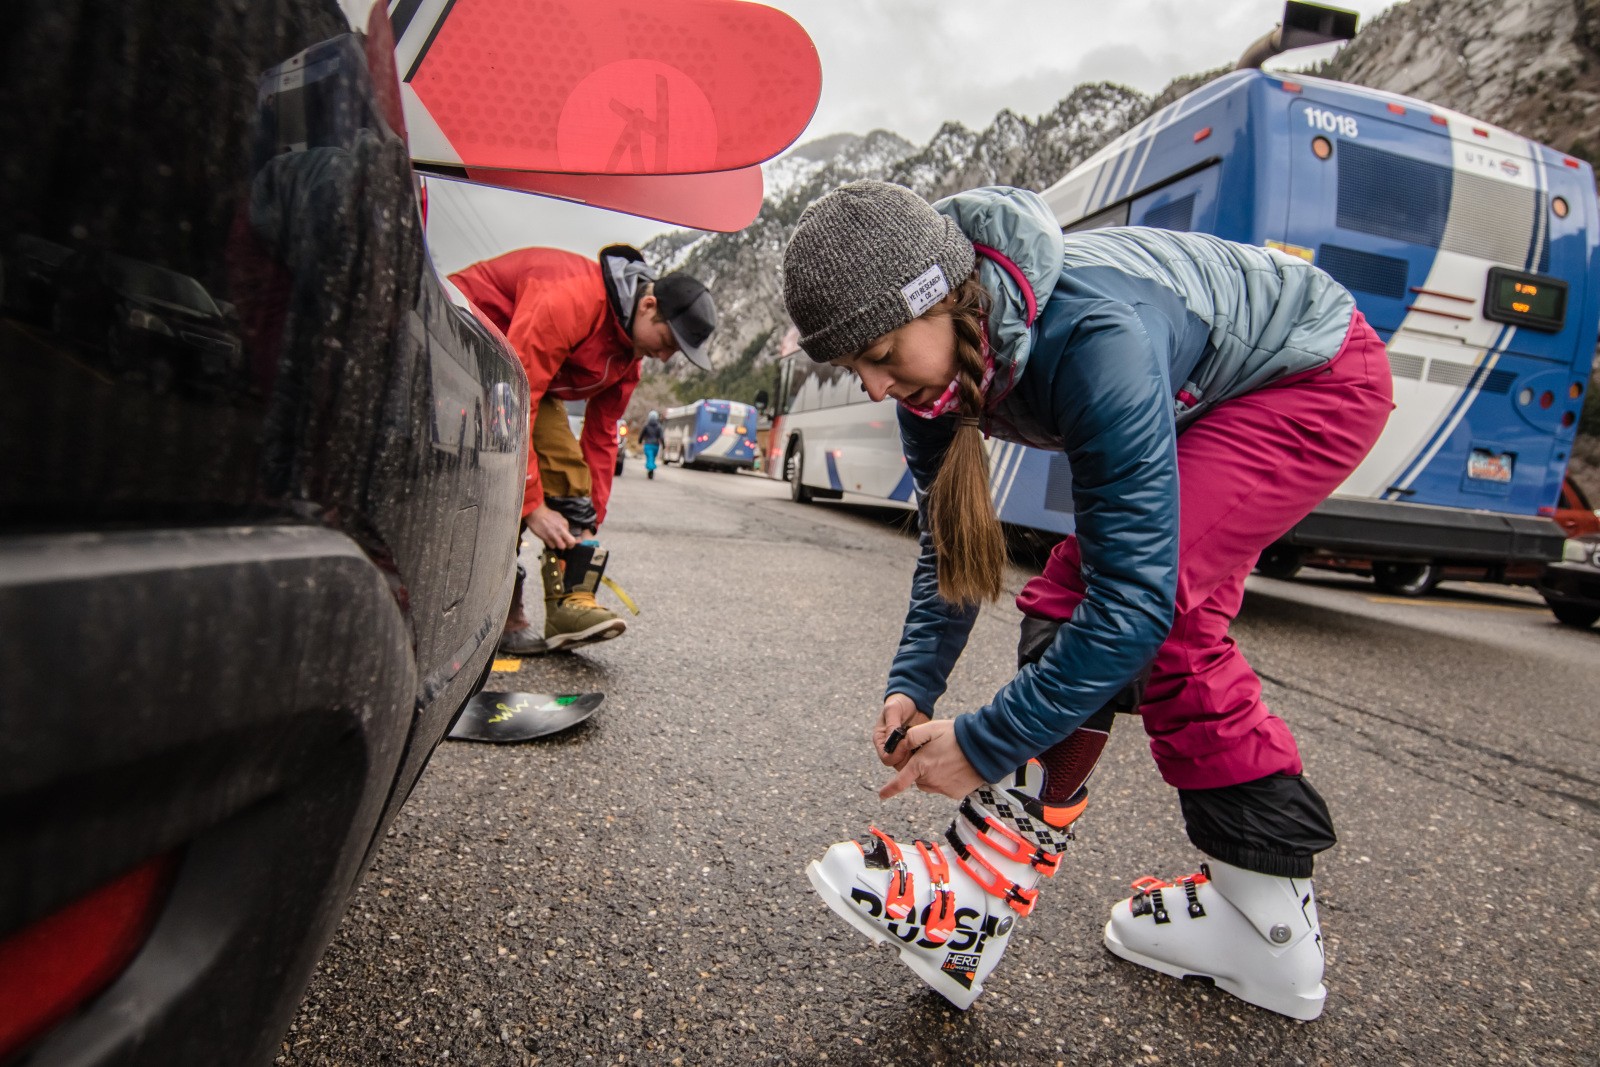
Don’t forget to show some love to your boots. Before storing your boots, take your liners out for at least 24 hours to ensure they’re fully dry prior to packing them in a dark corner to rot all summer. Take out any insoles while doing this to ensure you don’t trap funk between the bottom of the insole and the liner. Once you’ve done that, throw the liners back in and loosely buckle your boots so they don’t splay out and lose their shape.
If you have touring boots or a walk mode, consider using a toothbrush and a mild detergent to clean dirt and grime out of the moving parts. Then, find a dry, mouse-proof place to tuck them in for a summer slumber. Mice will make a home in your boots if you give them the chance. It will be gross and your custom-molded liners will be ruined.
Step 7: Prep, Organize and Pack Your Accessories
Make sure all your other gear is clean, dry and organized so you’re ready to go when that impromptu trip to Chile in August suddenly materializes. Backcountry aficionado? Take the batteries out of your beacon to prevent corrosion, and replace them later before you hit the snow. Make sure your avy gear is clean and dry so it won’t rust and get stuck when you need it. Dry and organize helmet, gloves, goggles and outerwear so it’ll last you for seasons to come.
Step 8: Sit Back and Wait for Snow
Take care of your ski and snowboard gear, and it will take care of you for a long time. In the meantime, watch some old ski movies to build stoke and stave off heat-related despair, and maybe consider doing some crunches and squats so you’re actually in shape when temps drop.
Anything you do we neglected to mention? Let us know below, and we’ll see you when the snow starts flying.
More From Tele Tony
Next Story
Partners In Promoting Utah Powder


comments
Leave Your Comment