
Backcountry Snowboarding 102

By Mackenzie Ryan, a Salt Lake City based professional snowboarder and writer.
The Top 5 Best Sidecountry Destinations in the Beehive State
Sidecountry is where most snowboarders start their backcountry experiences. You take the lift up Snowbird, Brighton, or another classic Wasatch mountain, check in with ski patrol who make sure you’ve read the avy forecast and have avalanche safety equipment, and then you hike out to (hopefully) untracked powder. And for a pro tip, check out the Mountain Hub which is a community-based app that provides you real-time data on snow and conditions.
If you haven’t picked out where you want to test your newly acquired backcountry mettle, our list of sidecountry destinations will give you some places to ponder.
Real Quick: Before You Check Out Our List
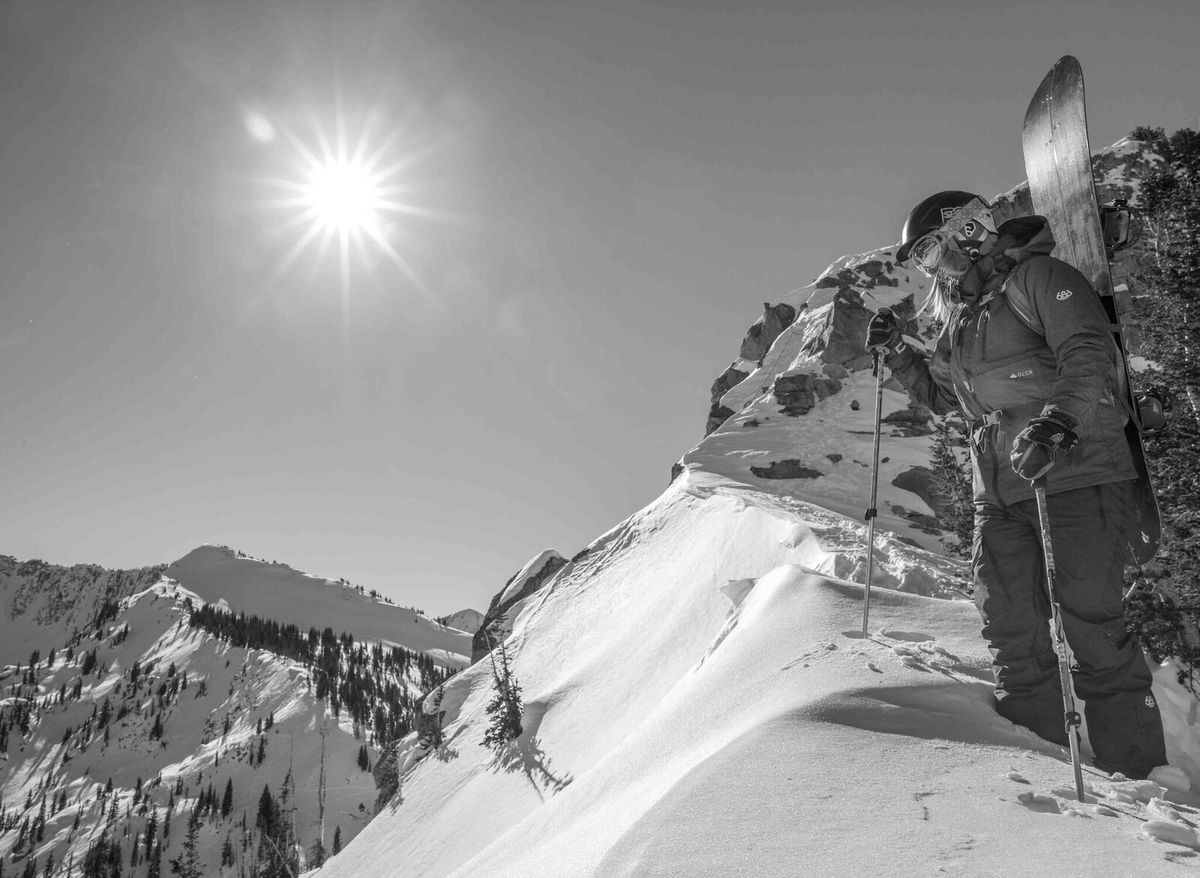
Unfortunately, the sidecountry’s proximity to the resort often lulls new backcountry travelers into complacency. The zone doesn’t “seem” too gnarly. The snow doesn’t “seem” like it will slide. And, instead of people being appropriately cautious, they incorrectly assume they are safely within a controlled environment.
As part of responsibly guiding new backcountry snowboarders to great sidecountry zones, it’s important to note that the goods you find out of any gate aren’t controlled like the terrain you find within the resort.
"Sidecountry is absolutely backcountry terrain, and it’s arguably even more dangerous to go out the gate at 10,000 than to hike up a ridgeline for 2,000 to 3,000 feet. When you are climbing, you can develop a feel for what the snow is doing and gather information for decisions later in the tour. You miss out on this when you ride a lift."— Kelly Robbins, splitboard guide for Utah Mountain Adventures and National Outdoor Leadership School.
He reiterates that, when you leave the resort, you should take all the same precautions as a splitboard going for a tour from a trailhead.

He outlines a to-do list you should go through before you leave the gate: “Make a plan. Know how to identify avalanche terrain. Check the avalanche advisory. Make sure you have beacon, shovel, and probe, and know how to use them. Figure out how you are going to make decisions within your group. And, have fun, but don't neglect anything.”
For more information, please review Backcountry Snowboarding 101: Six Things You Need to Do Before You Go Out the Gate. Now, without further ado, we present our list of the best sidecountry destinations in Utah.
1.) White Pine Gate, Snowbird
As one of the founders of splitboarding, Utah Avalanche Center Brett Kobernik has been snowboarding the Wasatch backcountry for over two decades.
“Each resort has its own little unique perspective with their sidecountry, and they are all pretty dang good,” he says.
Despite his widespread appreciation for the Wasatch sidecountry, which he frequents regularly in order to obtain information for his forecasters, Kobernik admits that he’s partial to sidecountry out of Snowbird.
“I like to go out of gates that Snowbird provides,” he explains. “Obviously those aren’t open all the time. I like the White Pine access point off the top of Gad 2 lift, and access to Twin Peaks when that’s open as well. I kind of like that stuff because it’s an area I don’t go to a whole lot. It’s more of a backcountry experience instead of going out of a gate and sliding downhill.”
Snowbird doesn’t allow uphill travel anywhere on the resort. It also doesn’t offer single ride tickets. To access the White Pine gate, leave your car at the Gad parking lot and purchase a day pass. Take the Gadzoom lift to Gad 2. At the top of the Gad 2 lift, check in with ski patrol about 100 feet from the gate. Know in advance that Snowbird ski patrol will not allow you to leave the gate without avalanche equipment.
If they give you the okay, you’ll ascend the ridgeline just outside the gate and drop west into White Pine or east back into the resort. This is an expansive area with nearly limitless line choices. It will benefit you to consult a map before you go because, when you drop into White Pine, you will be riding out to the road and hitchhiking back to the parking lot.
2.) Millicent Lift, Brighton
Brighton has a remarkable amount of sidecountry access, the crown jewel of which accesses Mt. Millicent (10, 452 feet) and the large swatch of terrain filled with tight, steep chutes and undulating bowls between Big and Little Cottonwood Canyons. The terrain here is often featured in snowboard photography and ski films.
For $15, you can get a one-ride lift pass at Brighton, take the Millicent Lift, and drop out of bounds. Much of what you’ll want to hit is off a southbound traverse, meaning you may need to hike a bit. Or, if you can traverse until you run out of steam, drop in, and hike back up to the cat road below Milli. Be cautious of where you drop as there are some less-than-navigable cliff bands.
3.) 9990, Park City Mountain
Also known as Desolation Peak, Ninety Nine 90 is the reason so many great backcountry snowboarders live in Park City. Ride the Canyons Resort’s lift up, hike through the gate, and you have access to the entire Park City Ridge that separates the Wasatch Back from Big Cottonwood Canyon.
“I’ll often use 9990 from Canyons to get back into Millcreek or Big Cottonwood at the end of the day,” says Brett Kobernik. “I start in Big Cottonwood Canyon, and go along ridgeline. Those access points are great ways for me to cover lots of ground.”
4.) Summit Chair, Solitude
“I've carried collapsible poles on my pack riding at Solitude, because I knew I would want them to hike out Fantasy Ridge,” explains Kelly Robbins. “If you are going to be doing much walking, snowshoes on flatter terrain or Verts in steeper terrain can help, although this could be a pain to ride with.”
Solitude Mountain Resort’s Summit Chair provides access to this famously exposed ridgeline, flanked with north-facing chutes and intermittent cliff bands. If you’re cool with heights and exposure, you can hike up it with your board on your pack. The ridgeline also lets you drop into Silver Fork Canyon, a lappable zone full of chutes and bowls beloved by the Wasatch’s backcountry enthusiasts.
For $88 you can purchase a 10-ride pass. Do the math, not a bad deal at all!
For those not into big, exposed hikes, drop out of the gate just behind the Summit Chair and traverse toward Twin Lakes Pass.
5.) Monarch Chair, Eagle Point
When the storms are firing at Southern Utah, Tushar Mountain Tours guide Alec Hornstein recommends hitting Eagle Point Resort’s Monarch Chair and hiking up Mt. Holly (11,999 feet).
The Tushars, which rank behind the Uintas and La Sals in size, features some truly big mountain terrain and some moderate pitches. To access Mt. Holly, you’ll need to purchase a full-day ticket to Eagle Point Ski Resort. Head out the Monarch Chair gate and hike (snowshoes preferred) to the southern base of Mt. Holly. Ascend the ridge in order to reach your first destination: South Bowl. Expect to climb between 1,400 and 1,800, Hornstein says.
Partners In Promoting Utah Powder


comments
Leave Your Comment