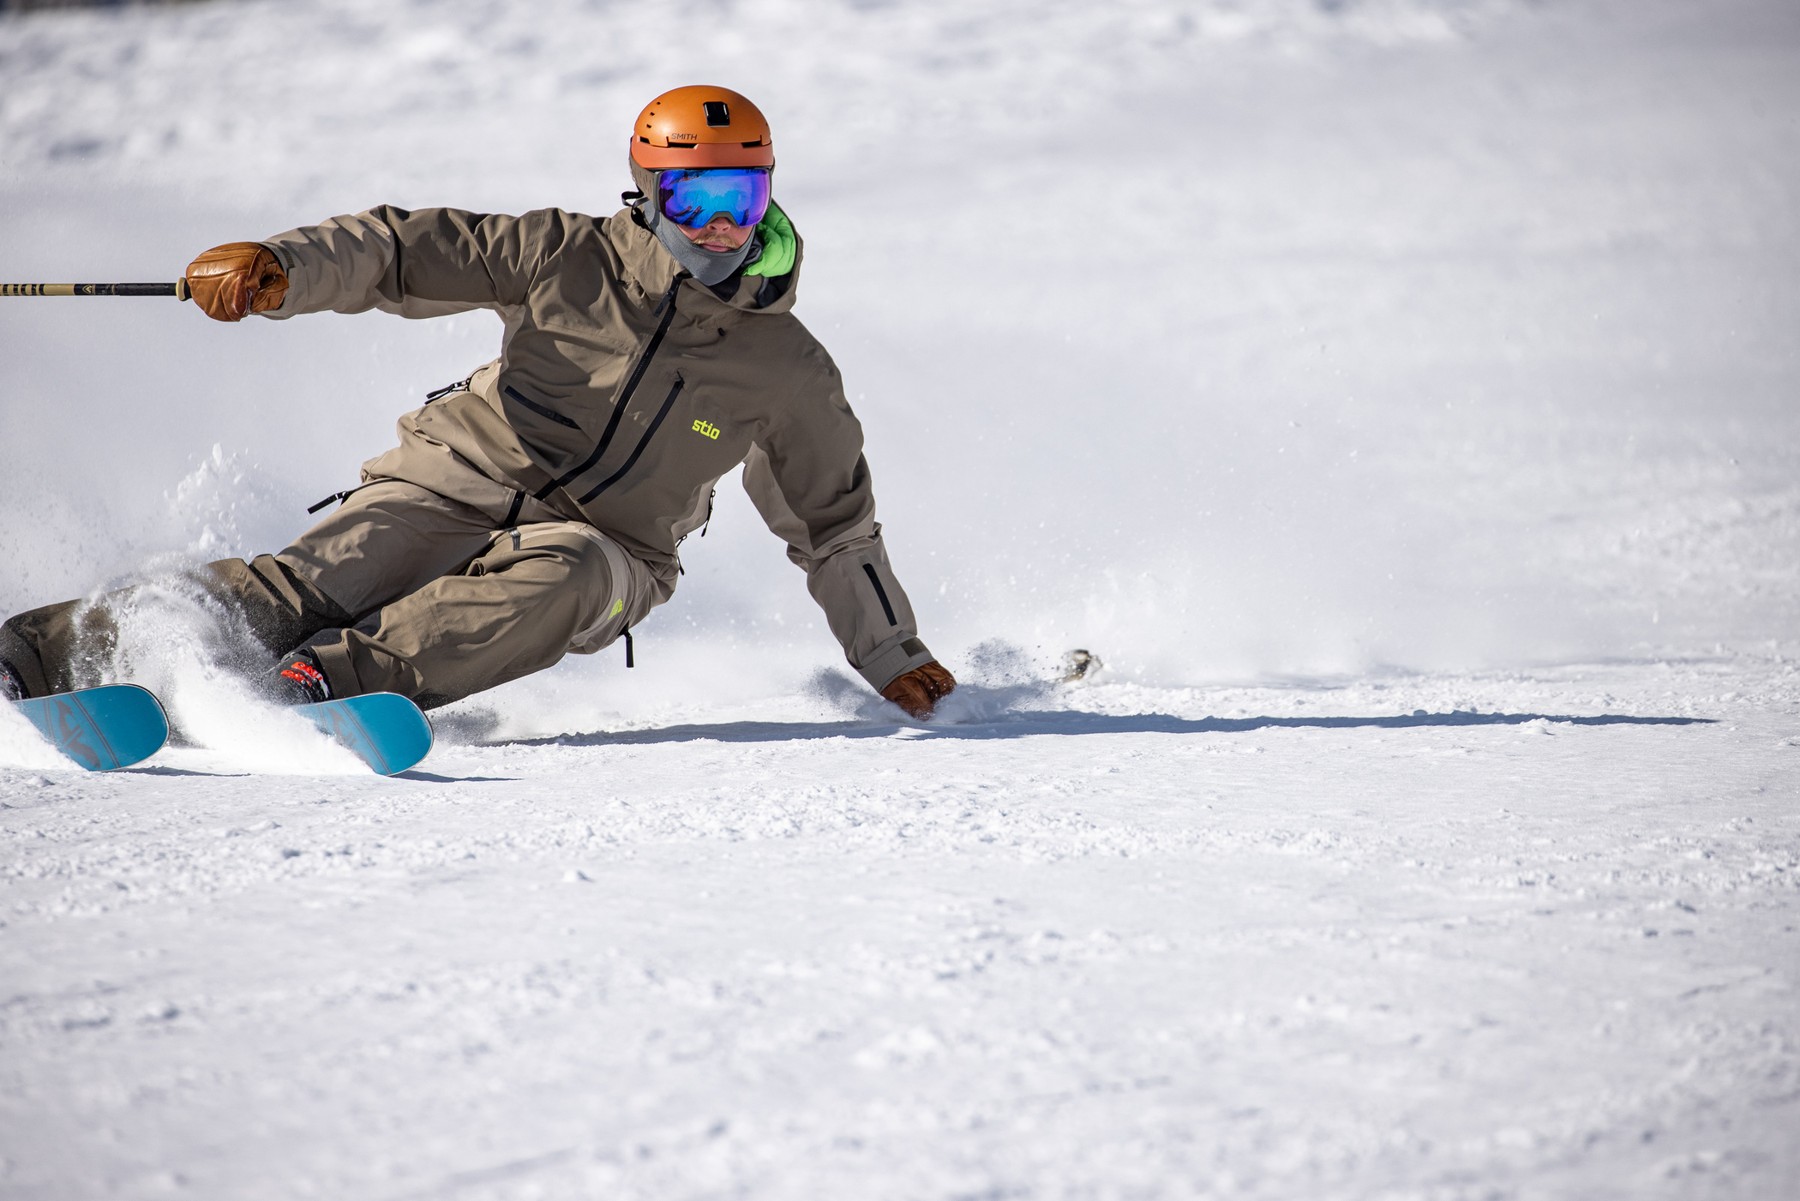
That slightly breathless feeling of rolling your skis on edge and noticing that your knees, feet, and hips are all in sync as they drop into the hill. You lightly pressure the outside ski, drive your hips towards the apex of the turn, and feel the energy your skis send back into your body as the edges bite into the snow.
Cleanly carving a ski is one of those feelings that is difficult to describe, something that Ted Ligety thinks is like what fighter jet pilots or race car drivers must feel when they’re at speed. But once you have felt it and things click into place, it’s the only way you want to ski from that moment forward.
I got to sit down with two-time Olympic gold medalist, five-time Alpine Ski World Champion, and Deer Valley - Ski With A Champion Ted Ligety to pick his brain about how to help everyday skiers Shred like Ted.
Ted Ligety’s Favorite Carving Drills
Ted offered insights into his favorite carving drills and how to incorporate them into your skiing. Listed here are his top four drills in order from easiest to most difficult:
- Railroad Track Turns:
- How it’s done: Find flat terrain (such as a cat track) and set your stance between hip and shoulder width apart while maintaining a flat ski. Begin gliding downhill on the flat ski, then initiate a carve by first rolling your ankles, knees, and then hips into the hill. Repeat to the other side. When you look back up the hill, you should be able to see perfectly spaced ski tracks in the snow.
- Focus: Feeling equal weight distribution between your feet and maintaining space between ankles and knees throughout the turn.
- Pro tips: This is a great drill for anyone to practice because whenever you’re skiing, you will inevitably end up on a cat track where you can practice the basics of carving.
- Hands-on-Knees Turns
- How it’s done: Start with the same setup as railroad track turns, but this time, get rid of your poles and place your hands on your knees. You can use this sensation of hands on knees to help you feel if your knees are staying equal widths apart while carving, or if you’re letting your outside (downhill) knee drop into the hill more than your inside knee (think A-Frame). Keep the knees equal distance apart to eliminate an A-Frame skiing stance.
- Focus: Feeling the knees drop into the turn at the same speed without sacrificing stance width.
- Pro tips: Ted recommends focusing on the edge angle of the inside ski just as much as the outside ski, and also applying pressure with your hand to the outside of the inside knee to give yourself a cue of how to drive the inside knee into the hill through glute activation.
- Javelin Turns
- How it’s done: Ski on easy to moderate terrain and lift your inside ski so that it is elevated as it crosses over your outside (downhill) ski. During the transition, place both skis on the snow again to redistribute weight, then perform on the other side.
- Focus: Crossing the skis through pelvic positioning, facing down the hill.
- Pro tips: This drill is great for helping people who have a hard time maintaining pressure on their outside ski progressively increase forces throughout the turn. Be careful not to put your lifted ski on the snow while performing this drill.
- One-Ski Skiing
- How it’s done: Take one ski off, then ski.
- Focus: Feeling the ability to carve both the inside and the outside edge of the ski.
- Pro tips: This drill is incredibly challenging, but can demonstrate almost immediate results in so many skiers. Make sure to start on easy terrain and build your way up from there.
Off-Snow Drills for Stronger Carving
The path to carving starts well before you put on ski boots (check out my blog here for more in-depth ski fitness routine). Ted recommends focusing on these major body parts to get strong for carving.
-
Glute Med Activation: Having strong hip abductors (such as glute med, glute min and piriformis) is essential in helping you stabilize over the outside ski without losing control. Exercise examples: lateral band walks, side planks, or clamshells
-
Glute Max and Lower Back Strength: Ted recommends focusing on lower back and glute max strength to drive the hips down the fall line with power. Exercise example: Hip bridges with a static band around the knees
-
Posterior Chain Strengthening with Anterior Chain Lengthening: An important part of skiing is to make sure that your body not only has the strength to drive your body down the hill but also the length in the front of the body to allow that movement to happen. Ted recommends hamstring, low back, and glute exercises paired with hip flexor, quad, and chest stretches to allow yourself optimal freedom of movement while carving. Exercise examples: Nordic hamstring curls, back squats and standing hip flexor stretches.
Common Carving Mistakes (and How to Fix Them)
Ted sees a few patterns among skiers trying to develop their carving technique:
-
Getting too rigid with the upper body: Think about your hands and trunk when you’re on a slack line or other balance surface. Your hands need to be up and slightly out from your center of mass to help stabilize you as you go over changing terrain. Keep your hands in the lower part of your peripheral vision, but allow them to be dynamic enough to respond to terrain variations when necessary.
-
Always trying to have all of your pressure over the outside ski: When learning how to carve, it’s important to realize that the amount of pressure on your outside ski depends on the type of terrain you’re on. When you’re on flatter terrain (such as in the railroad tracks drill), you can have about 50/50 weight distribution between your feet. As the terrain gets steeper is when you need to place more pressure through the outside ski vs. the inside ski.
-
Ignoring the inside ski: Ignoring the inside ski and what it’s doing can lead the ski to drive out in front of you, causing a flying V, or cause the knees to not work together, causing an A-Frame stance. Ted recommends focusing on the inside half of the body just as much as the outside half in order to get the cleanest carves possible.
-
Trying to carve too many turns in a row on challenging terrain: When you move to steeper slopes, aim to carve just 3-4 high-quality turns, then shut it down. Stay disciplined with those few good turns rather than reverting to old habits. As your technique improves, you can start to link together more carved turns.
Additional Tips from Ted
-
Start on flat terrain and progress gradually: Build clean technique before adding speed and steeper slopes.
-
Think about your center of mass: Commit your weight and energy into the new turn early.
-
Dial in your equipment: Above all, get your ski boots professionally fitted and aligned. "It’s easy to travel and rent skis appropriate for the conditions, but boots are everything," says Ligety.
-
Use CARV or other technology to get feedback: Carv sensors attach to your boot power straps and provide real-time feedback on your edging, pressure, and balance, which is a powerful tool to tighten your technique between ski lessons.
- Next winter, you can do a camp with Ted at Deer Valley Resort - keep an eye on Deer Valley's website and social for dates to be posted soon!
Mastering the art of carving not only makes you faster it also makes skiing more fun and controlled. "When you carve right," Ligety says, "you feel like you’re flying.” And once you feel it, you’ll never want to go back.
