Words by Martha Howe @shotwellhowe
When you see those incredible images of the big night sky with colors and the milky way, stretching over a beautiful landscape, you can’t help but wonder; “how the heck did they capture that on a camera?” Now, it takes a long time to master the art of astrophotography (and maybe some photoshop skills too) but here are some tips to get you started with your iPhone, GoPro or a digital camera. You won’t be disappointed what you can capture!

Photo by Evan Thayer
A few basic rules to start with, no matter which device you have:
- Always use a tripod
- Photograph in pure darkness, about 2 hours after sunset or 2 hours before sunrise and no light pollution.
- Have patience!
iPhone
The best astrophotography from an iPhone will be from the iPhone models 11 or newer. These newer iPhone models have a specific night mode setting. Once it is dark outside and you are ready to shoot, open the camera app on your phone. In the top left corner of your phone you will see a lightning bolt and then an eclipsed moon-like symbol next to it; that is the night mode setting which automatically turns on when the camera recognizes a dark environment. You can tell if night mode is activated if the eclipsed moon icon is yellow. If the icon is white just tap the icon to turn it yellow and activate night mode.
Adjust the exposure at the bottom and experiment! The number associated with the night mode icon represents the number of seconds the exposure of your photo will be, in other words, how long the shutter of your camera phone will stay open, letting in more light the longer it is open. Here are some side-by-side shots with their designated exposure times of the same image.
Note: The night mode does not work with the .5 wide lens option on the iPhone
Star trails - Here is where an extra step is needed. The dreamy, star trail photos we have all seen is possible with your phone and an extra app to assist. Download the NightCap app. This app takes multiple photos at continuous intervals, allowing the stars to move while the camera is firing at your desired exposure.
The moon - First I will note that you will not get anything super detailed trying to photograph the moon with your phone, but you can improve the over exposed moon photos we have all experienced. The best way to do this is to set your exposure manually before you take the photo: Frame the moon on your iPhone camera. Tap the moon in the frame and then hold down until you see a sun icon appear on your screen. Use the sun to slide the exposure down to your desired brightness.
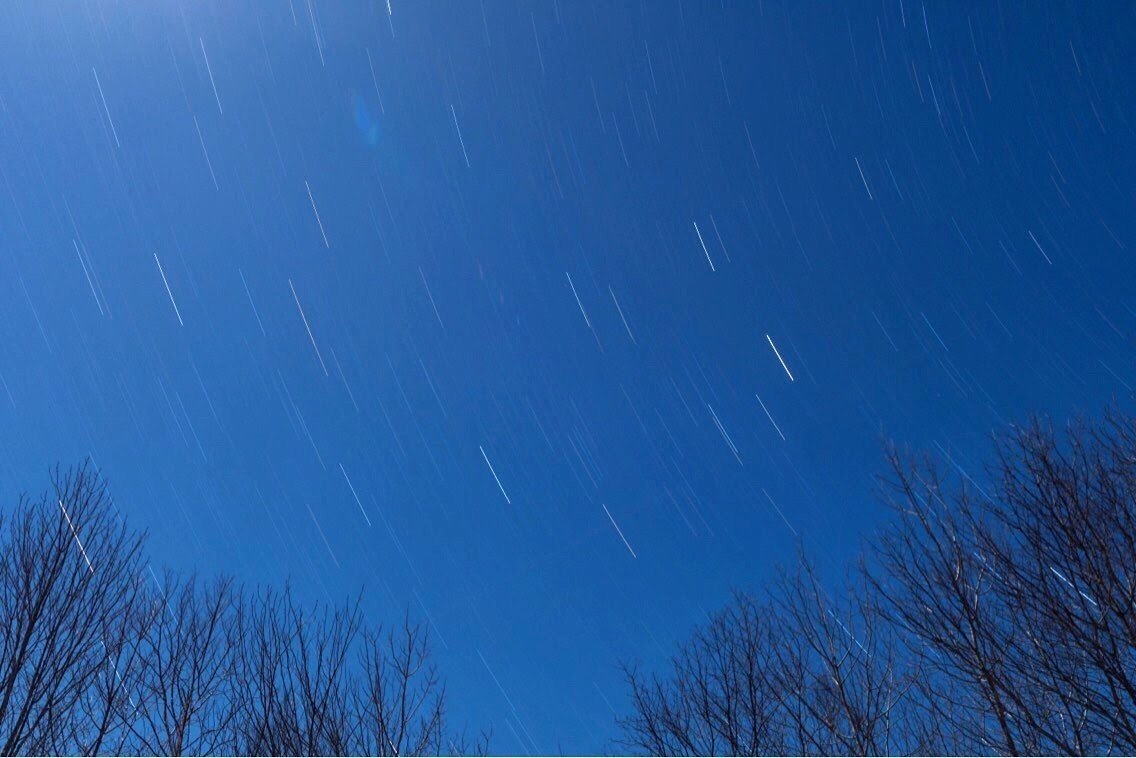
Photo by Martha Howe
GoPro
Note: These instructions are based off of the GoPro Hero 9, finding the menus on each GoPro may vary.
Astrophotography can be easily accomplished on the GoPro as well! Here is how to set up your GoPro for night time photography:
- Toggle your GoPro menu from video to photo. Once you are in “photo mode” find the settings menu where you can decide what type of photo you want to take; burst, live, night or regular photo. Select the night mode then tap the pencil icon to get into the settings for night mode. Here you will find: lens, shutter, output, timer and zoom.
- Lens/Zoom: Depending on how you want to frame your photo, the GoPro allows you to zoom in or out to get the framing you desire. Since there are no interchangeable lenses, this is the next best thing for a small compact camera like this.
- Shutter: Auto shutter lets the GoPro decide how long the shutter should stay open, which works great for astrophotography. If you want to have more control over the shutter, slide the icon up and down to choose your desired shutter speed. The longer the shutter stays open, the more light will be let in to your image, giving you a brighter image.
- Timer: This is a helpful addition to allow have a delayed start to your photo. I recommend using this function to reduce any camera shake so your photos will be sharp.
- Once you have the settings you desire, frame the night sky where you want to take your photo. Hit the shutter button and let the GoPro capture the beautiful night sky! Review your photo after each capture to see if it is bright enough for you. Another great tip is connect your GoPro to your phone through their app and use your phone as a remote to hit the shutter button and also review your images.
Astro Timelapse: I have found the GoPro to be a great pocket camera for on the go, easy star time lapses too! Many a time I have been camping and set the GoPro up overnight to work it’s magic (it works best when plugged in to an external battery for maximum footage capturing). Simply toggle your GoPro to Timelapse mode. In the preferences, find “Night Lapse.” Adjust the settings as desired and let it run all night to get some amazing results!
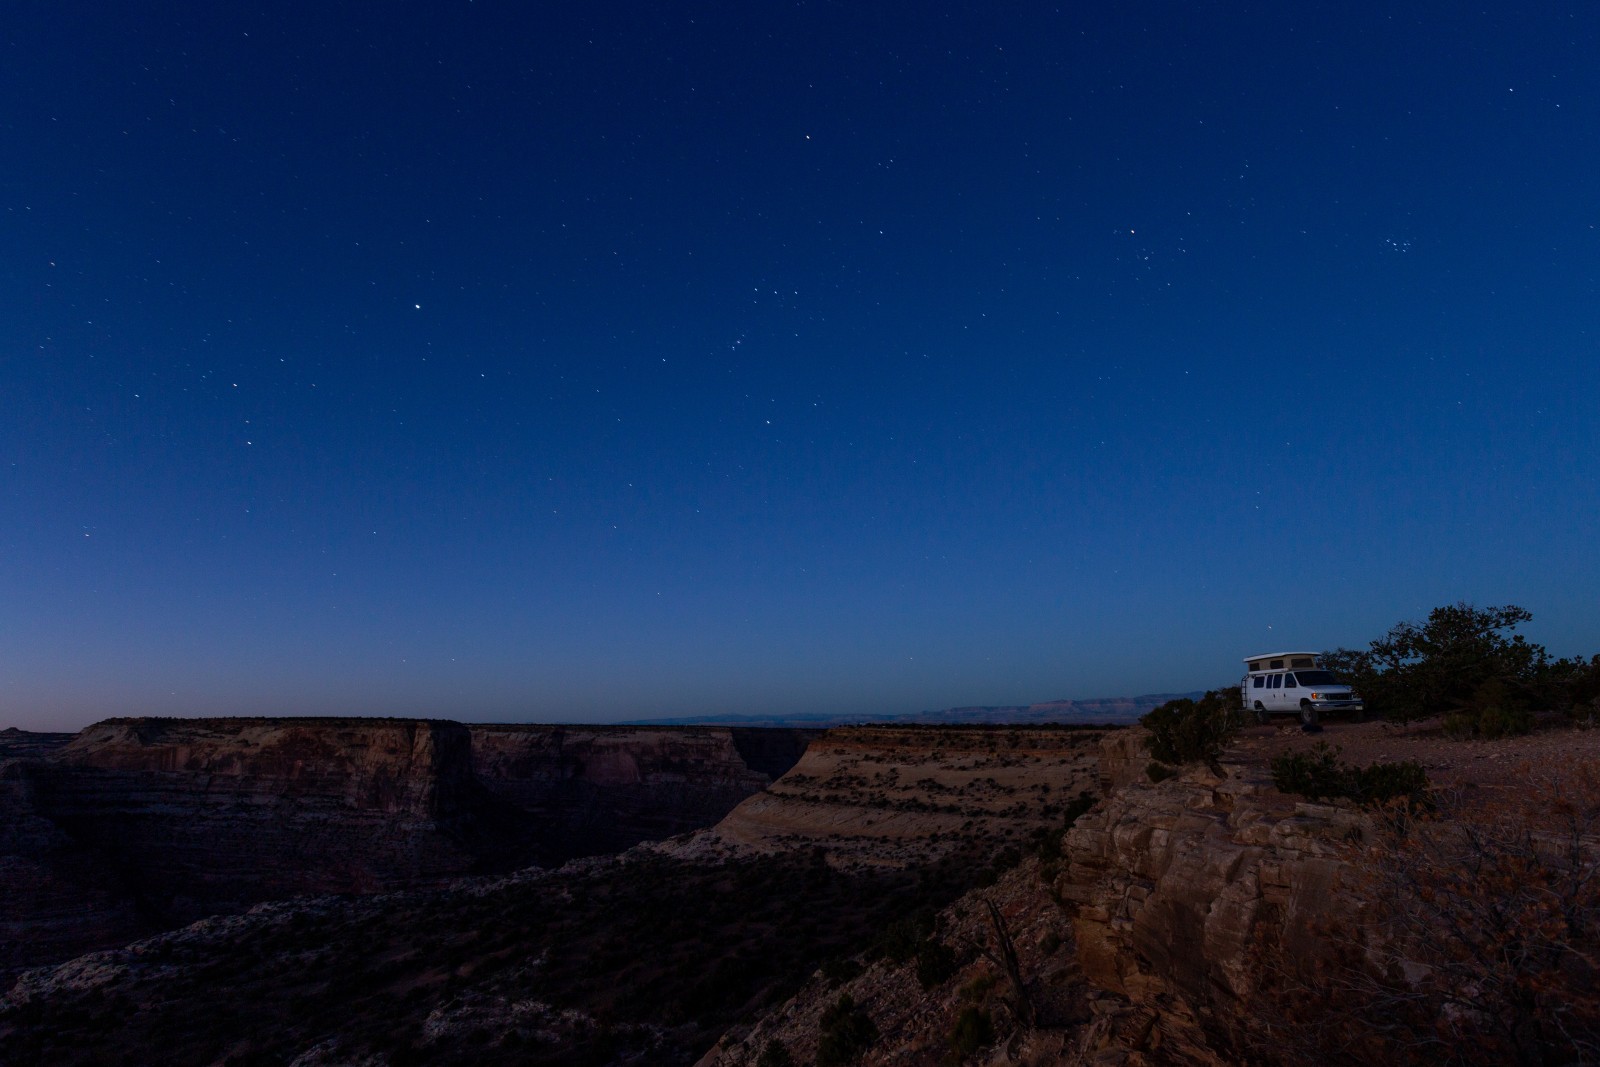
Photo by Martha Howe
DSLR
For those of you who have adopted the hobby of photography and own a larger, digital camera, let’s dive into the settings you can use for astrophotography. Start by switching to “manual,” this while give you more options to change your settings. The basic settings you want to focus on are: White balance, shutter speed, ISO and F-stop.
White balance: This is determined based on the environment you are shooting in: cloudy, sunny, fluorescent light, etc. To get the true colors from the sky in your shot, I would recommend choosing cloudy or sunny for your white balance. If you’re feeling more creative, try changing your white balance for different shots and see what color hues you can get in your picture.
F-stop: F-Stop is the depth of field your image will have. The lower the f-stop, the shallower your depth of field, and visa-versa. You would think that you would want the highest F-stop when shooting the vast night sky but trust me, the lowest F-stop is where you want to be for these shots. A lower F-stop also allows for more light to be let it. For astrophotography purposes, use the lowest f-stop you have available on your lens to allow the most light to be gathered for your photograph.
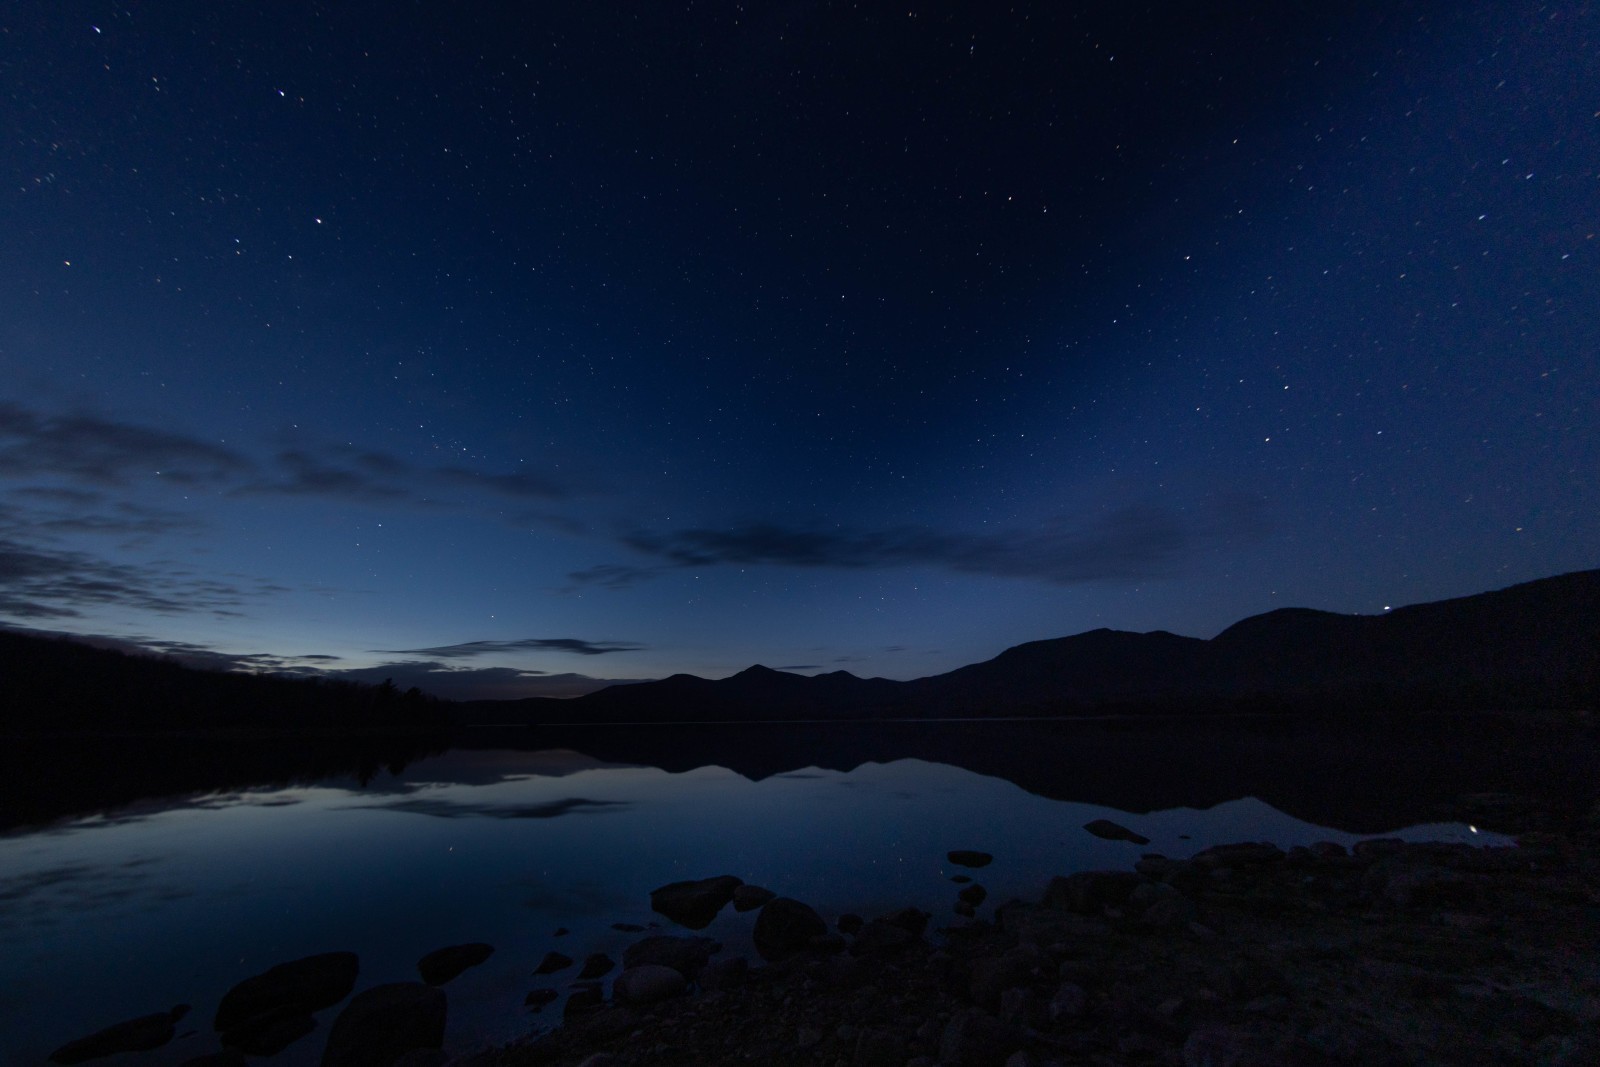
Photo by Martha Howe
Shutter speed: For astrophotography, your shutter speed is going to be very low to allow more light to be let in. If you just want to capture the stars without any star trail movement, set your camera to have a 30 second shutter speed. Anything over that and you will start to see some star trails. If you want to keep your shutter open for longer to achieve those start trails, find the “bulb" shutter setting on your camera. This allows you to press the shutter and leave it open until you press it again, so you can keep the shutter open as long as you wish!
ISO: The higher the ISO, the more light comes into the image, with a compromise of course. You would think you could shoot a great photo at night just by increasing your ISO to it’s highest setting right? Wrong. Unfortunately, the higher you set your ISO for your photo, the more “grain” is visible in your photo. This is where your F-stop and shutter speed come in to help balance the shot. Since your shutter speed and F-stop will be very low to allow more light to come in too, you can keep your ISO around 1600 or less while still getting enough light to have a successful image.
Lens: This is personal preference for what you are trying to capture but a 24-105mm F 2.8 lens is a great astrophotography lens to have on hand. If you want to be extra careful not to have any camera shake, I would recommend a fixed lens somewhere around 35mm, again, depending on what you are shooting.
Manual focus or autofocus?: Digital cameras these days have amazing autofocus capabilities, but this is not the time to use those features. Set your camera to manual focus. Use ring on your cameras lens to adjust the focus of the photo until the starts appear to be sharp. This will take some experimenting and patience to make sure the stars are crisp and clear.

Photo by Evan Thayer
Overall, astrophotography is a labor of love. It takes a lot of time to get just a handful of photos and even more time to perfect the skills you need to get those photos. To encourage yourself to get out there at night to practice, invite some friends or spouse to come look at the stars with you. Bring a few Wasatch or Squatters beers and make a night out of it!