An unsung upside to skiing and snowboarding: it doesn’t take much to get your winter gear ready for the next early-morning call. Come next spring, we’ll be reminded how time-consuming gear maintenance can actually be. Setting up, breaking down, and cleaning camp gear. Fine-tuning derailers and refilling tire sealant. Hell, keeping up the yard at home somehow becomes an effort. For now, let’s bask in the simplicity of ski tuning and some thoughtful gear organization.
First, a disclaimer. This guide may not be for the 100+ day skier. Gear care can certainly spiral past convenience, but for most of us, it comes down to three simple considerations: tuning your skis or board, safely washing gear, and staying organized.
Tuning Skis and Snowboards At Home
“Tuning your skis” means sharpening edges, repairing scratches with epoxy, and applying a coat of wax. The easiest way to check all three boxes is a pre-season tune at your local shop. But if you’ve got the space, tools, and a free half hour now and then, tuning your skis or board at home is an easy way to keep your gear dialed without the downtime of dropping it at a shop.
You’ll know it’s time for a tune when you start seeing these signs:
-
Scratches, gashes, or exposed core on the base of your skis or board. If it’s deep enough to catch your fingernail, it’s probably worth taking in for a service.
-
Dullness, burrs, and sharp points on the metal edges. Rough edges affect your connection to the snow throughout a turn and can lead to more costly gear damage.
-
An unwaxed, raw-feeling base that wouldn’t slide freely on snow. Unwaxed gear will slow you down and might throw you off balance.
A pre-season ski tune and routine touch-ups every three to five outings is usually all it takes. Ski shops are your best bet for epoxy repairs, but you can handle the rest at home. Find a routine, and you’ll be surprised how much more connected you feel to the snow this winter.
Sharpening Edges
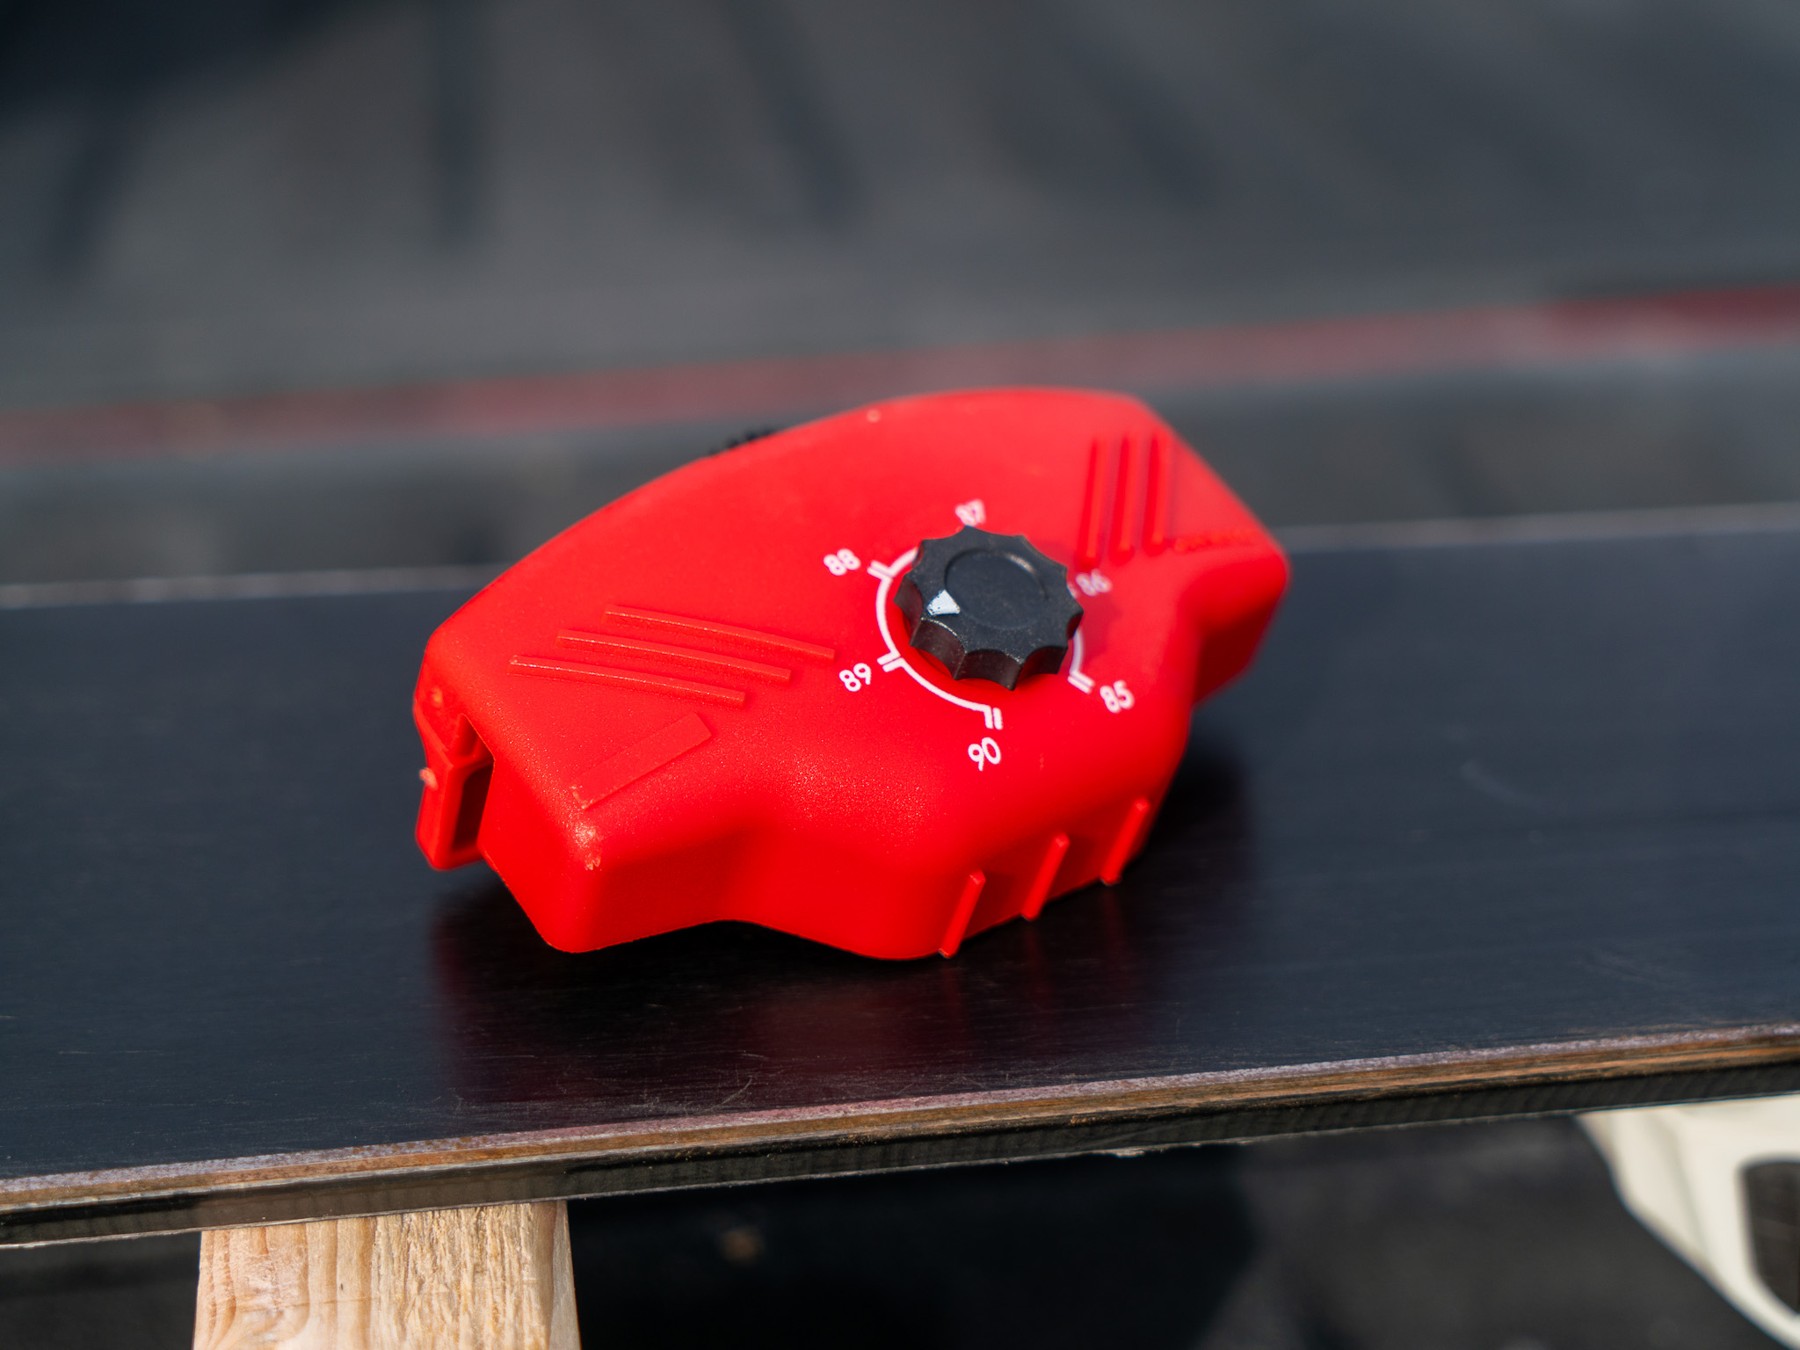
Take as little as possible; that’s the name of the game for sharpening edges at home. Your skis are shipped with specific edge angles (typically 2° sides and 1° base), and we don’t want to change that with haphazard filing. To get started, you’ll need a ski tuning kit, which should include an adjustable tuning tool and diamond stones or files. It’s a bit of an upfront investment, but the kit can serve you for years. With one in hand, here’s how to sharpen your edges:
-
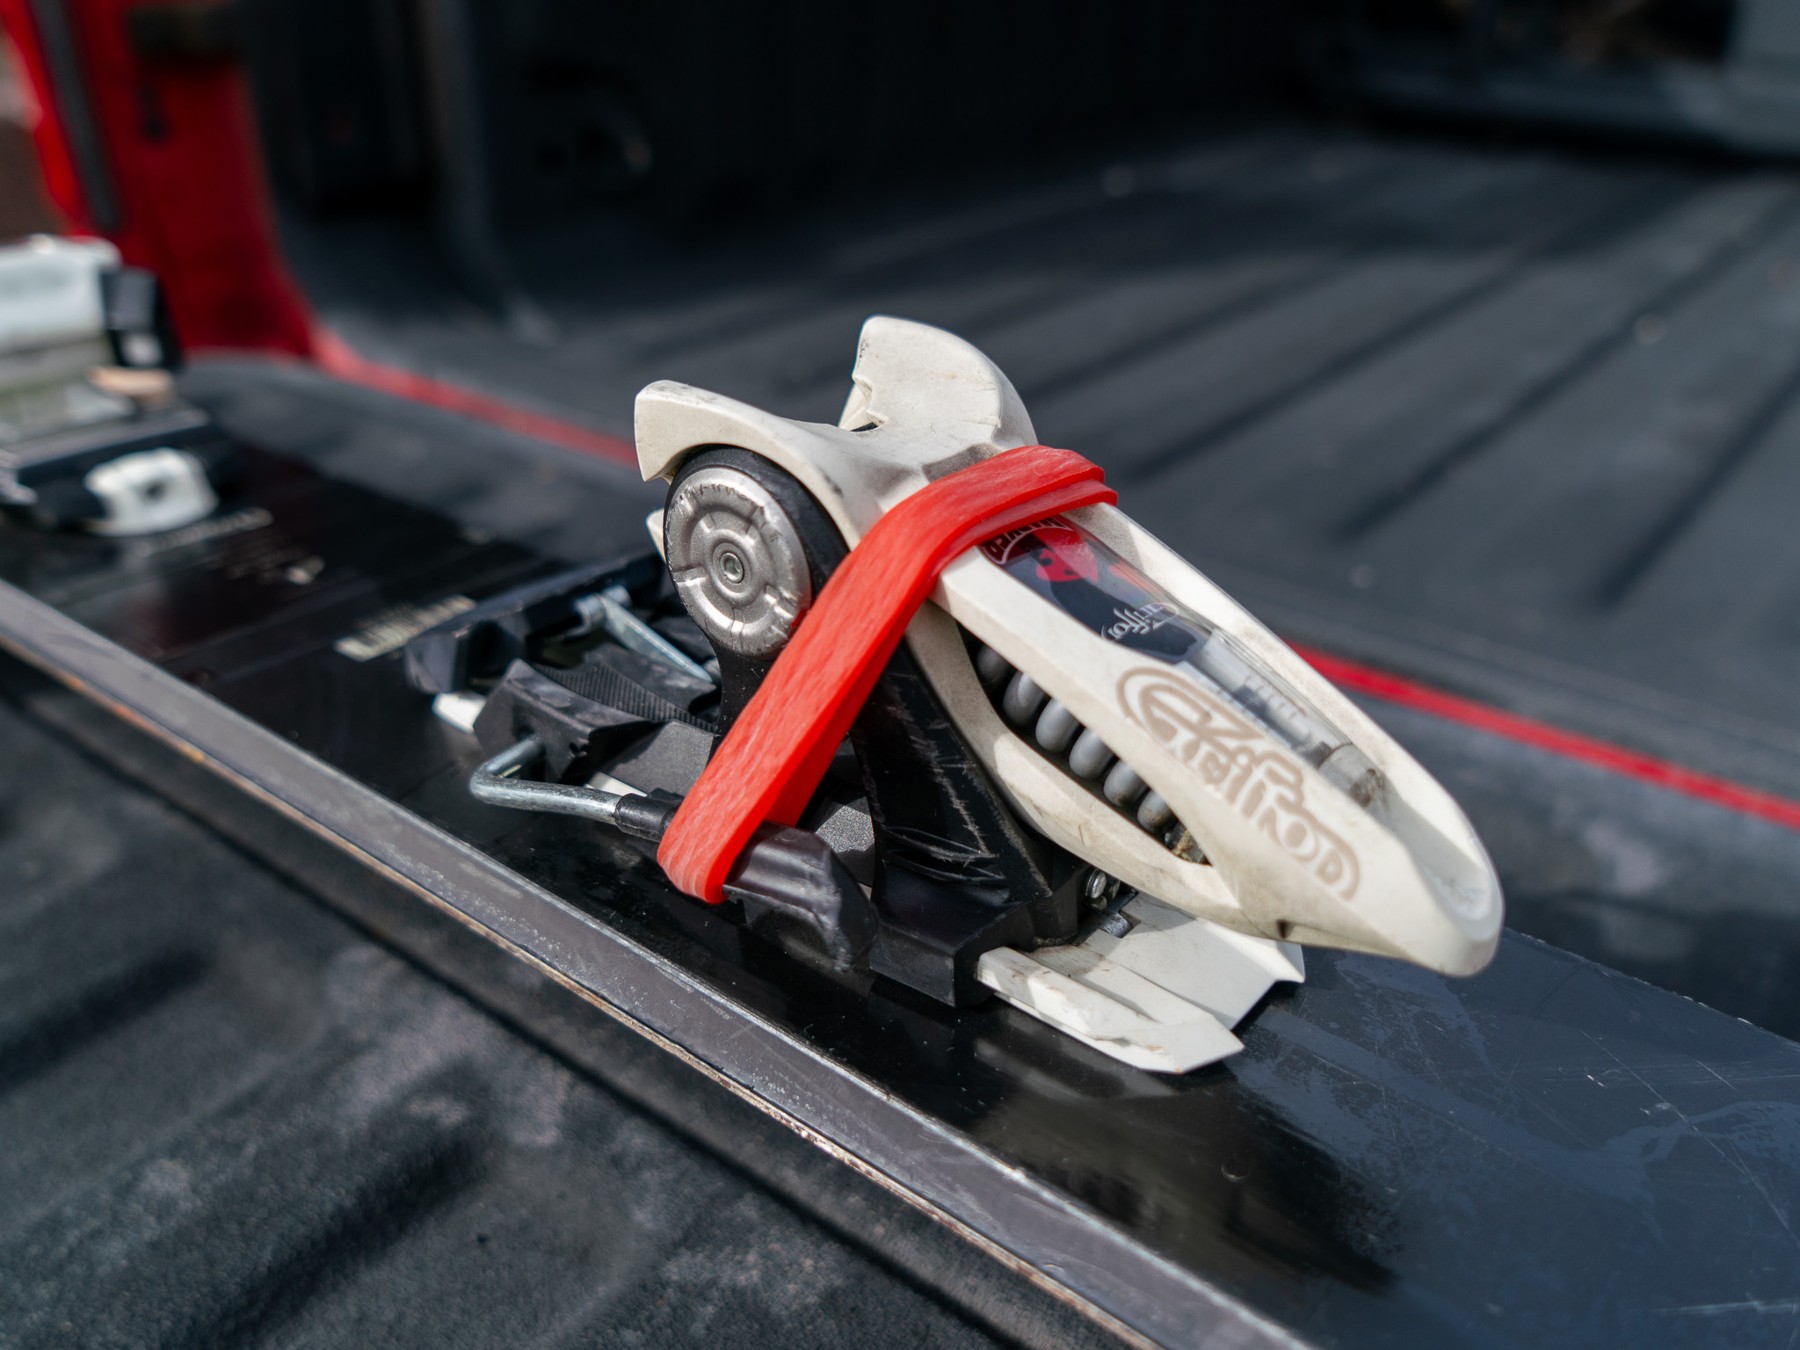
Prepare a Workspace: Lay down a painter's cloth to catch overspray and wax. Position your skis or board so the base is level, accessible, and stable. Skiers will need to secure their binding brakes, and riders should remove the bindings completely during the tune.
-
Clean Your Gear: Gently wash away debris and lightly wet the edges before sharpening.
-
Start Sharpening: Sharpen from tip to tail, progressing from coarser to finer stones if there are burrs to be removed. Start by sharpening the side edge (topsheet facing upward) with your tool set to 88°. Adjust the tool to 89°, flip the ski or board over, and repeat.
-
Take Your Time: Move slowly and don’t muscle through rough edges. Maintain even contact through smooth, consistent sharpening motions.
-
Clean the Edges: Gently wipe the edges clean and inspect for any missed rust or burrs. Repeat the process as needed.
You’ll be all set when the edges are rust-free and feel consistent along the entire ski. The first edge tuning of your season may take a few more passes than a mid-season touch-up, but neither should take long. Before you put everything away, why not apply a fresh coat of wax?
How To Wax Skis & Snowboards
Tuning edges keeps you planted in your turns, but nothing feels better than a fresh wax. It’s added protection for your equipment, but more importantly, you’ll feel faster and smoother on the slopes. So which wax should you use?
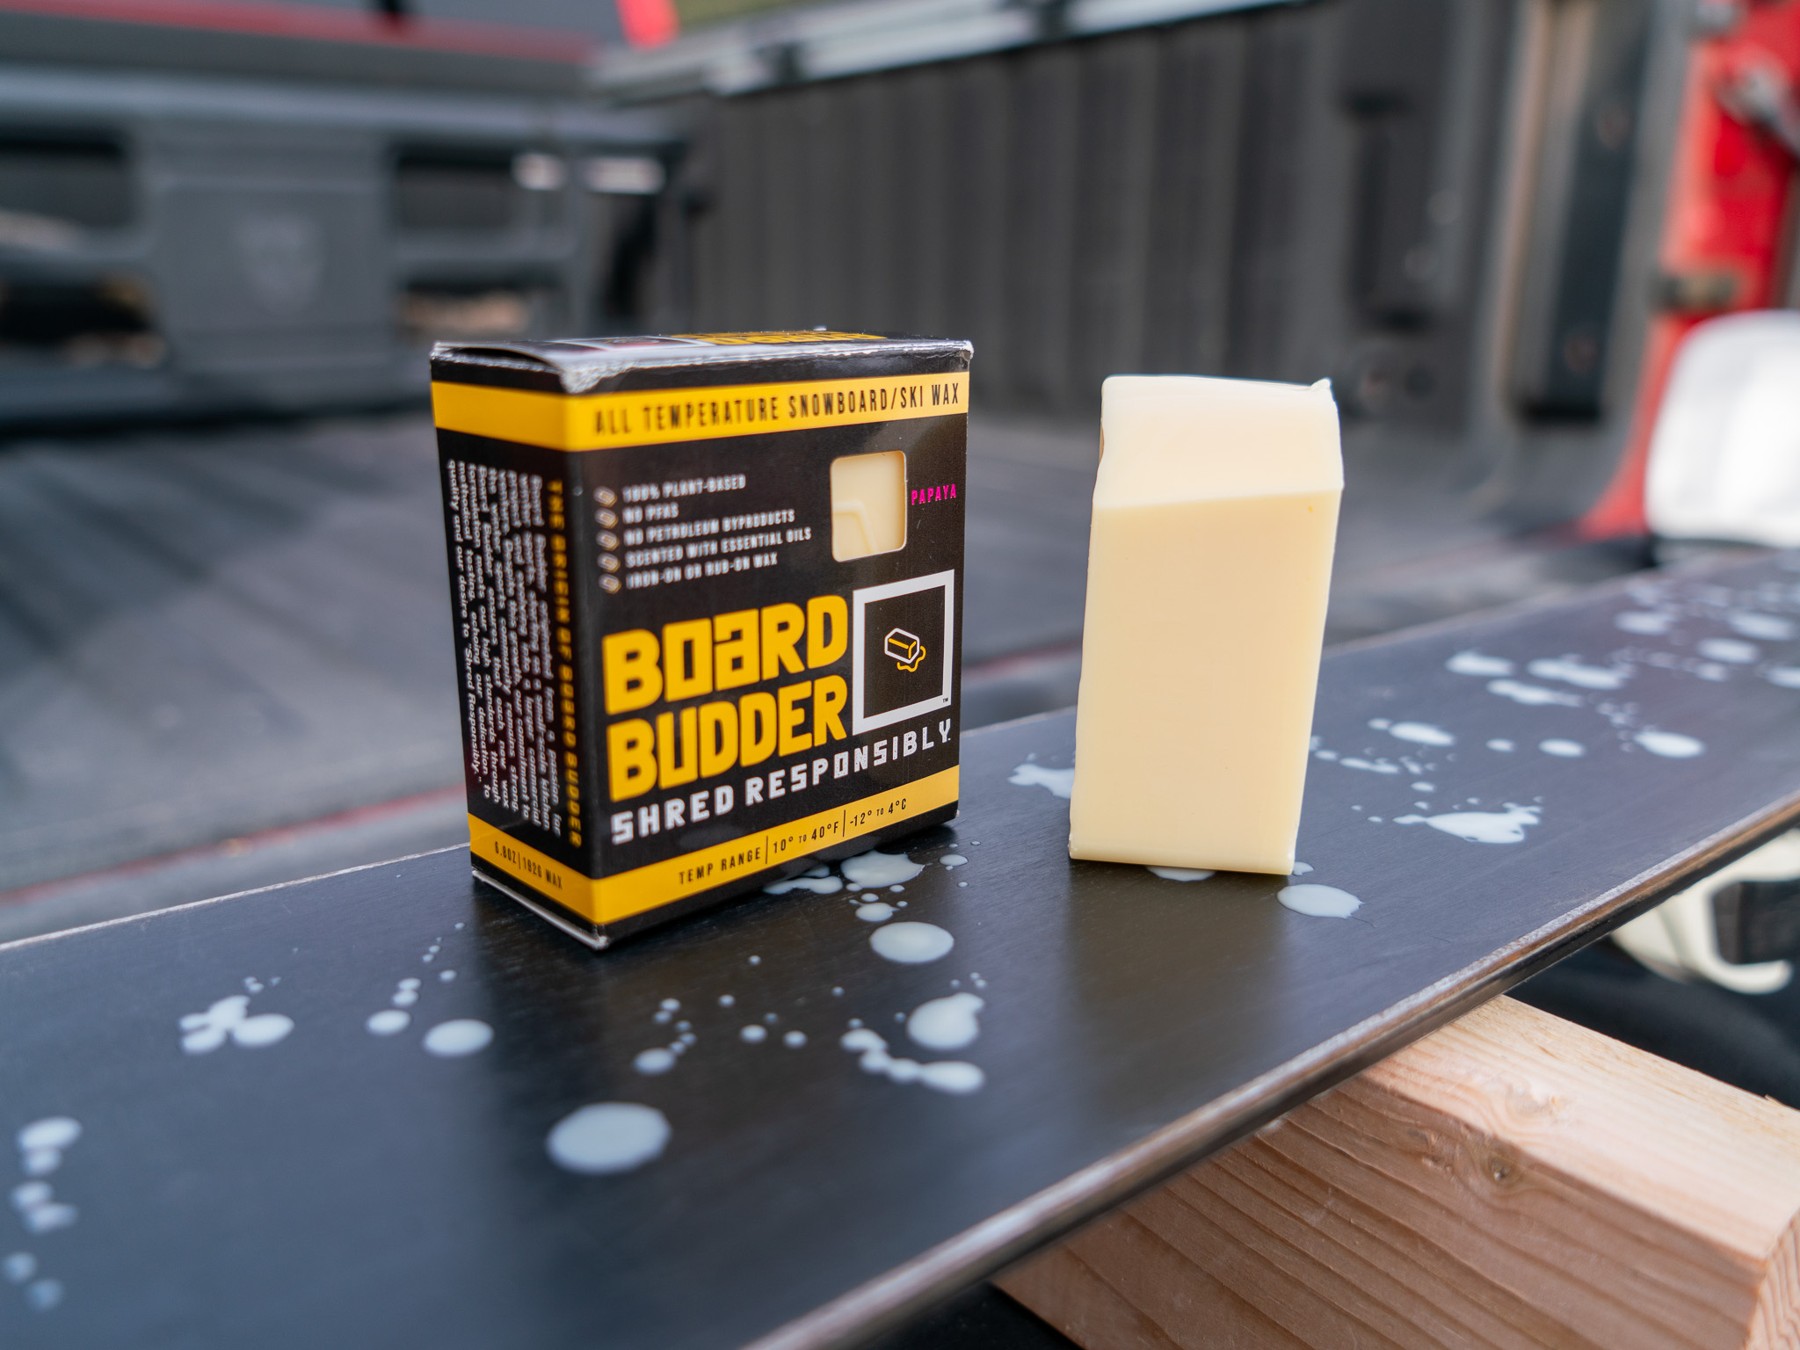
The truth is, most ski waxes are harmful to the environment. Many wax formulas include PFAs, which leach downstream as the snow melts. Not Board Budder. Board Budder ski and snowboard wax is 100% natural and performs great underfoot. That means you can throw down as many coats as you’d like, guilt-free. Here’s how to go about it:
-
Prepare a Workspace: Same as before, protect the workspace from wax shavings, secure binding brakes, and position your skis or board for work.
-
Clean the Base: Lightly clean the base of your skis or board using a specific base cleaner or mild soap. Once clean, allow the base to dry completely.
-
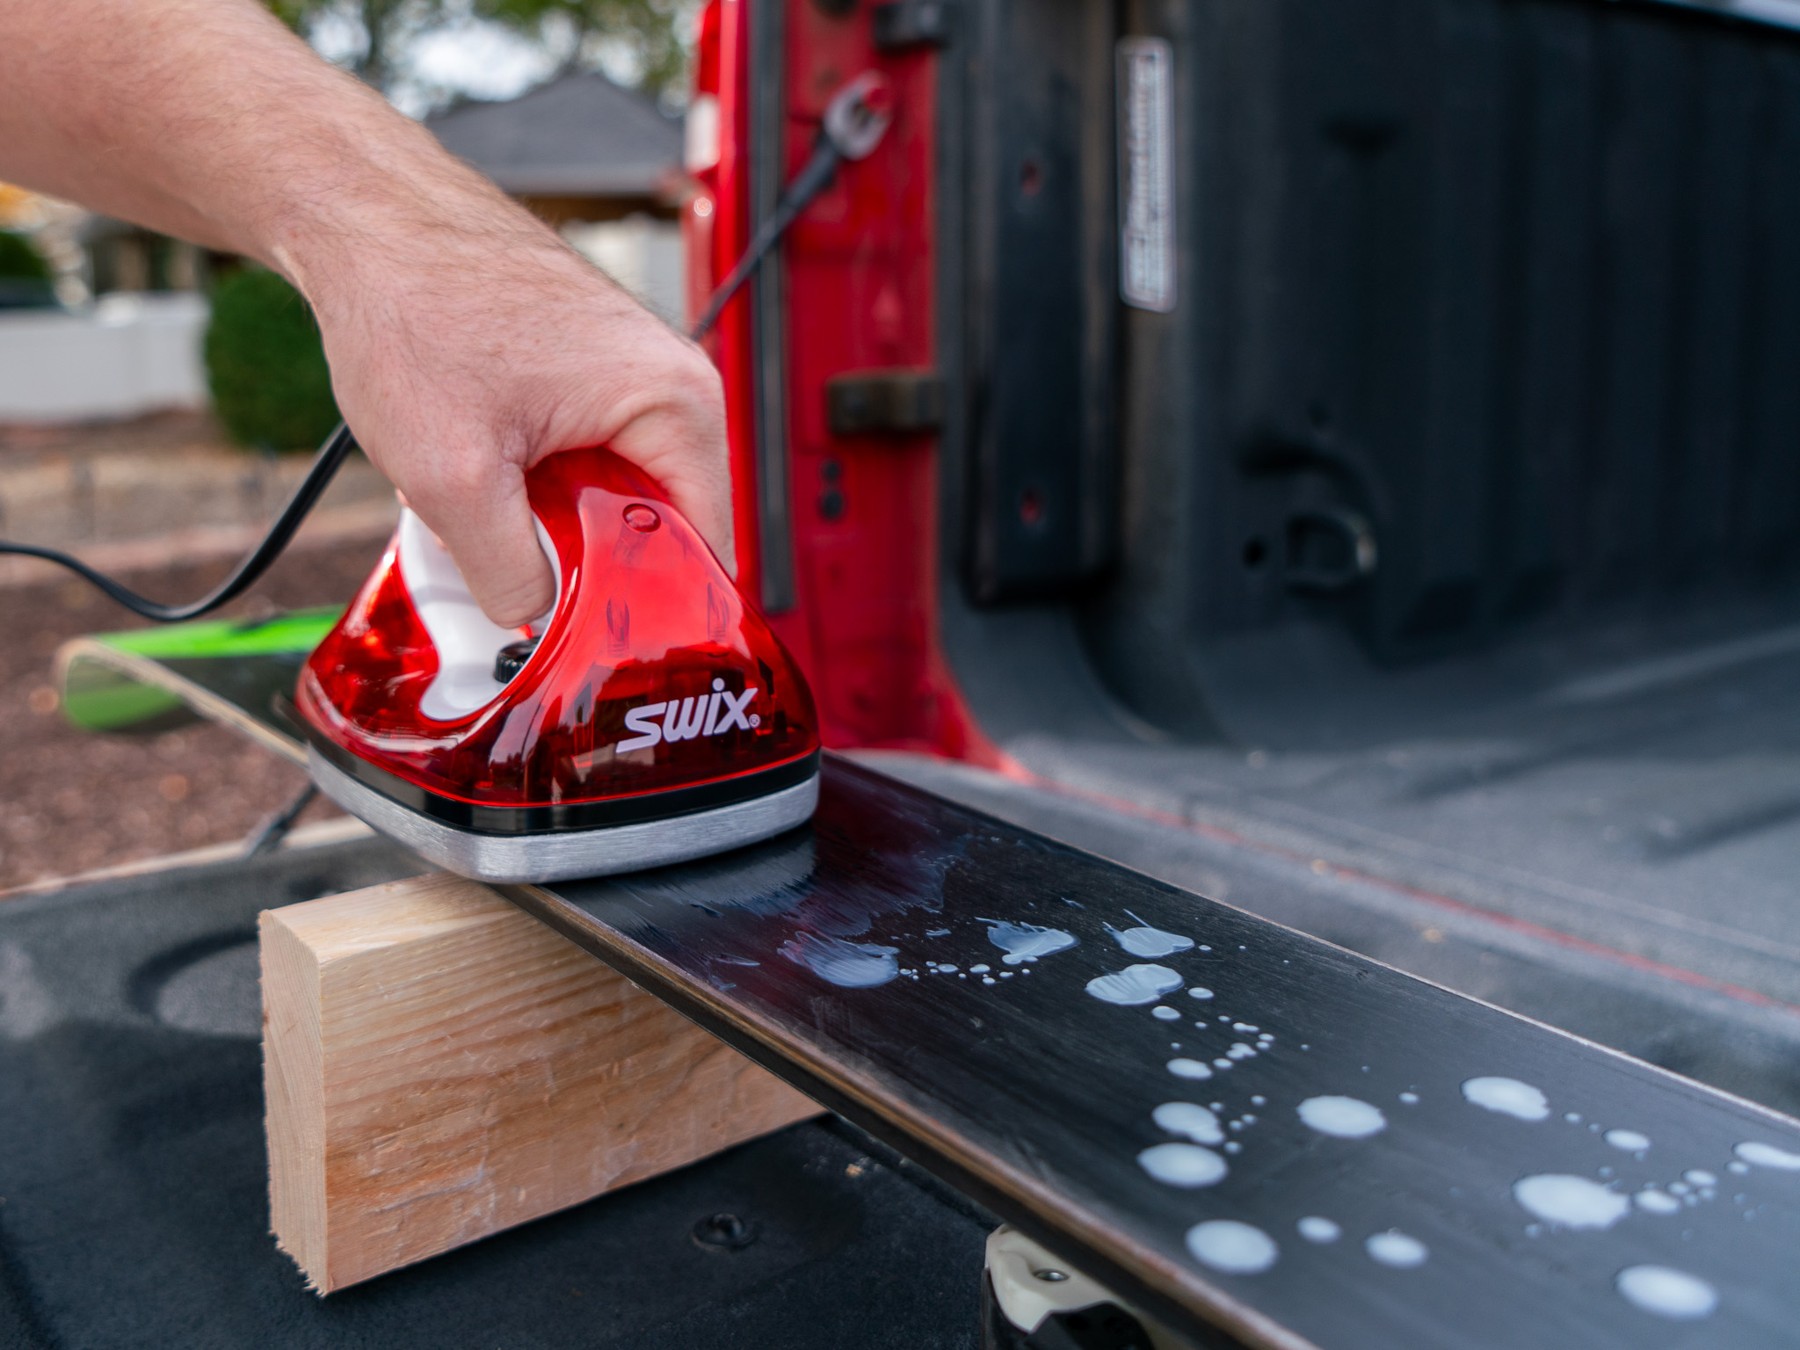
Apply the Wax: Using a dedicated wax iron, melt the wax and drip it along the base. A little goes a long way here, so save your wax.
-
Smooth the Wax: Set to low heat, iron the base until the wax is evenly distributed. Allow to cool completely.
-
Scrape Off Excess: Remove excess wax with a plastic scraper, steadily pushing from tip to tail. A wider scraping tool helps keep sharp corners off the base, which can create light scratches.
-
Brush and Polish: Finish with a horsehair brush or cloth to polish.
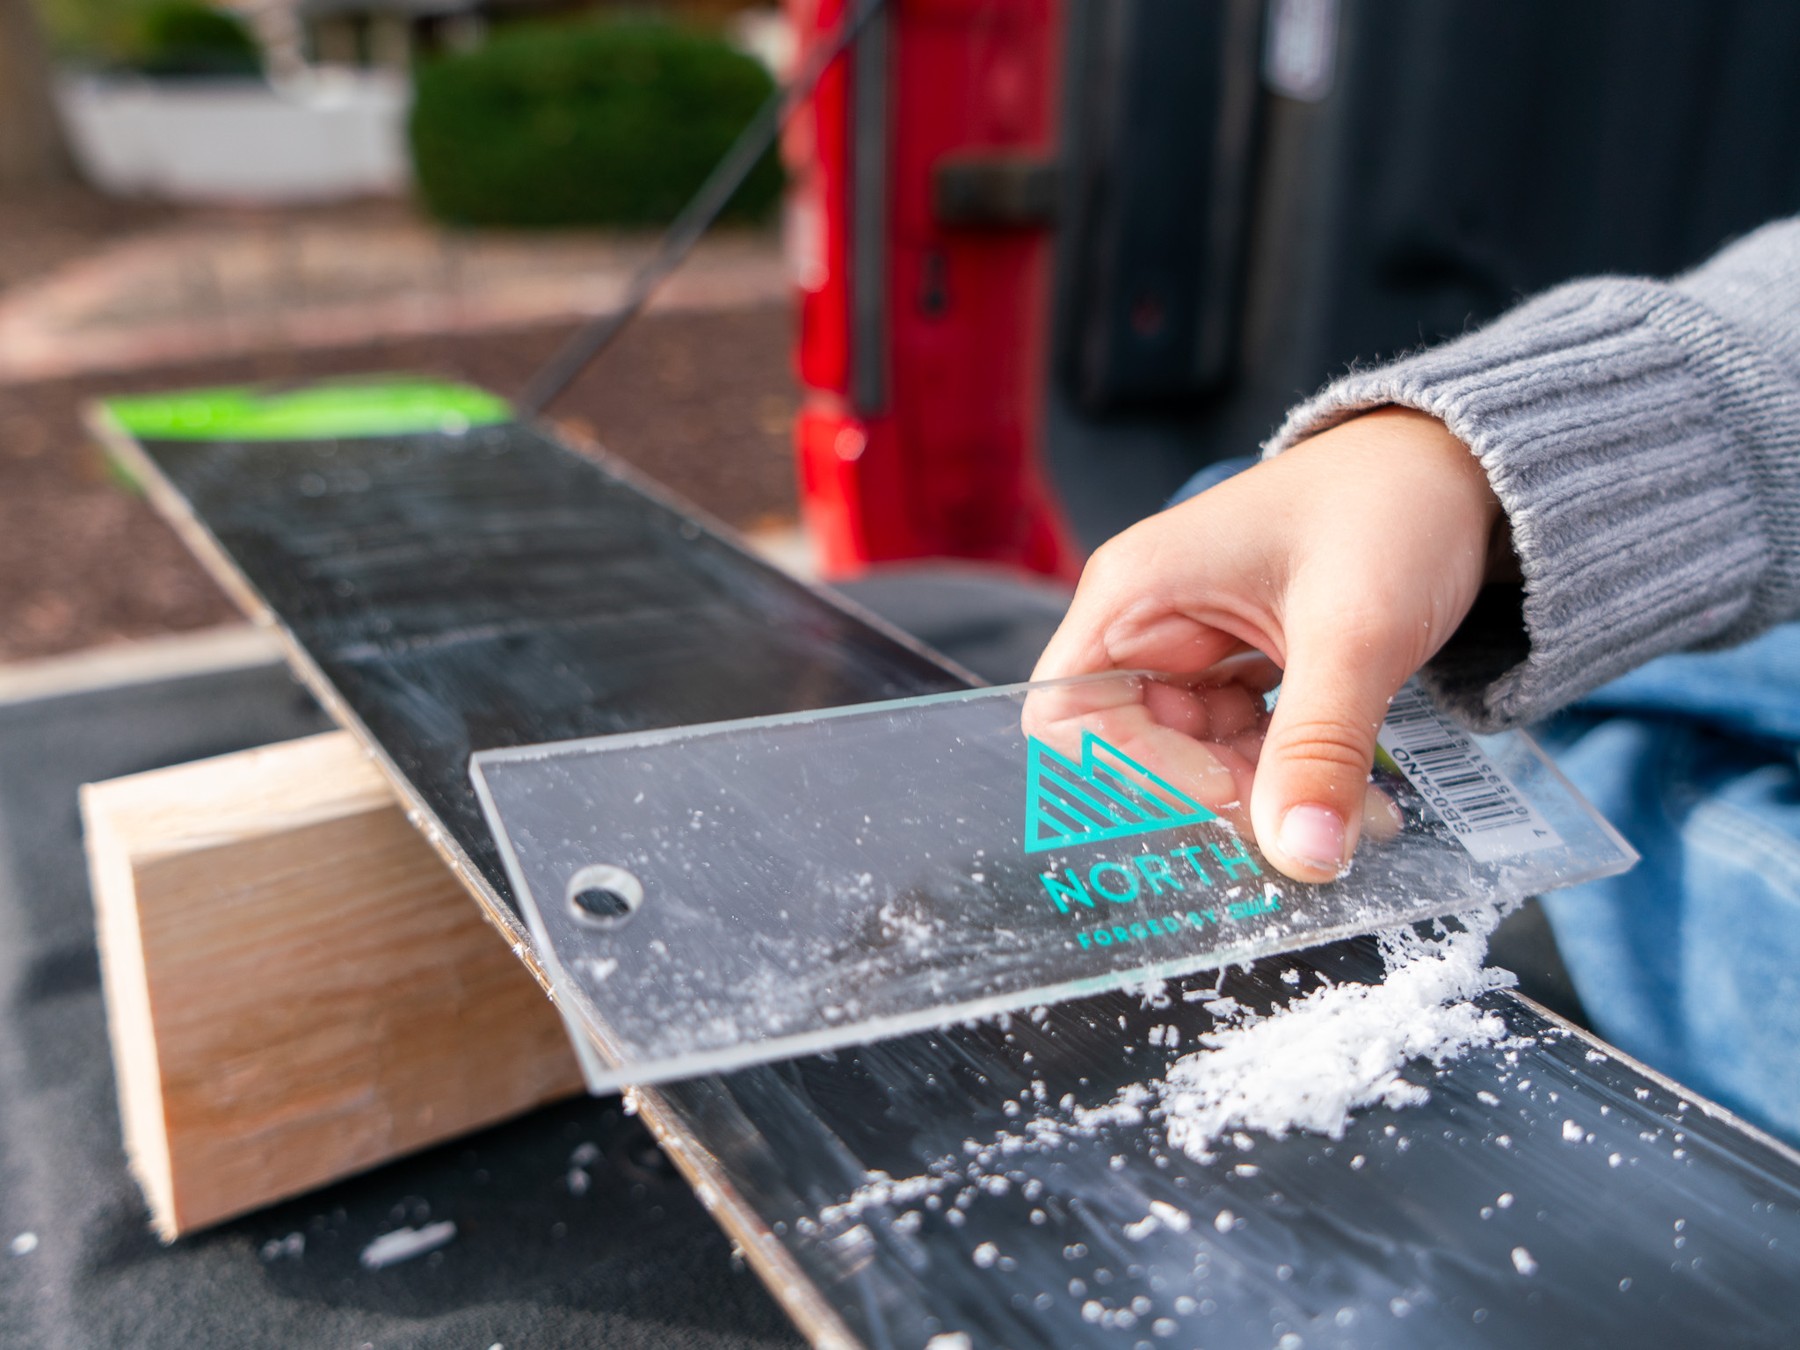
After a fresh wax and edge tune, your gear will be ready for whatever conditions the season delivers. The more time you spend skiing on fresh gear, the more aware you’ll be when it’s time for another tune. But what about the rest of the gear?
Cleaning Your Ski Jacket & Pants
A common myth says washing your ski kit makes it less weatherproof. In fact, with a few adjustments to your standard wash cycle, the opposite is true for today’s ski kits. Gentle cleaning and drying actually reactivates most weatherproofing treatments. However, you’ll have to make a couple of changes:
-
Start With The Tag: Always follow your gear’s specific care information.
-
Pre-Treat Stains: Most stains are removable if you address them by the end of the day. Dab at stains with a technical detergent, Dawn or diluted vinegar solution before washing.
-
Use Technical Detergent: Common laundry detergents can strip weatherproof coatings, so you’ll need a technical detergent for this wash.
-
Gentle Wash Cycles: If possible, wash your winter gear in a front-load washer on a gentle cycle. Stick with cold water, and be sure to close all zippers, pockets, and Velcro. A little extra weight helps with cleaning and agitation, so don’t forget to throw in your glove liners, helmet liners, ski socks, base layers, etc.
-
Apply Waterproofing: If your gear isn’t as waterproof as it once was, you can regain some ground with waterproofing spray. Following the wash cycle, spray your gear indirectly from about a foot away until it’s evenly covered. Depending on your gear, you may need to apply the spray on the inside of the coat or pants. Allow to set for a few minutes before drying. Companies like Nikwax also make a waterproofing wash-in. Just repeat another wash cycle and follow their directions.
-
Low Heat Drying: Again, refer to your gear’s specific care instructions, but a low-heat tumble dry (120° F or less) typically reactivates weatherproofing without shrinking or harming gear. If you’re unsure about the temperature, place a hand towel or pillowcase between your gear and iron on low heat.
- Down: Nikwax and other brands make a specific down wash. Follow their instructions and the care label on the items you're washing to bring your down jackets back to life! Be sure to throw in dryer balls or heavy items to help break up down clumps and keep your jackets extra fluffy.
Consider this a pre-season ritual, not something you should do after every day on the slopes. Ideally, you won’t have to reapply waterproofing more often than every couple of seasons. But with a bottle on hand, you can create a lot of distance between yourself and those dreadful cold, damp days.
Gear Storage & Organization
Even with tuned gear and a freshly washed kit, one last thing will perfect the season. Properly organizing and storing gear makes a world of difference. Disorganized gear is difficult to collect and carry, and it can be one of the most frustrating parts of the day.
First, you’ll want to dedicate a single storage space. Hang your skis, boards, and poles off the ground and/or store them in a protective case to preserve that fresh tune. Keep a ski strap nearby to bind your skis and poles together, which turns a balancing act into a breeze when you’re on the move.
Next up, dedicate a duffle bag, Gregory Gear Basket, or boot pack to storing your gear this winter. Rather than searching the house day-of, you’ll know your gloves, goggles, socks, and helmet are all in one place. Plus, it’s a place to stash some extra hand warmers or lift snacks. Finally, find a warm place nearby to store your ski boots, and keep them buckled. Unconditioned spaces can make the boot’s outer shell lose its shape, and cold boots are more difficult to clasp.
All in, it’s an hour or two worth of work at the head of the season, but it’ll be worth every minute when your days aren’t a scramble. It all goes even further when you’re managing gear for a family. Cold days? Sticky skis? Forgotten goggles? Not this winter.